
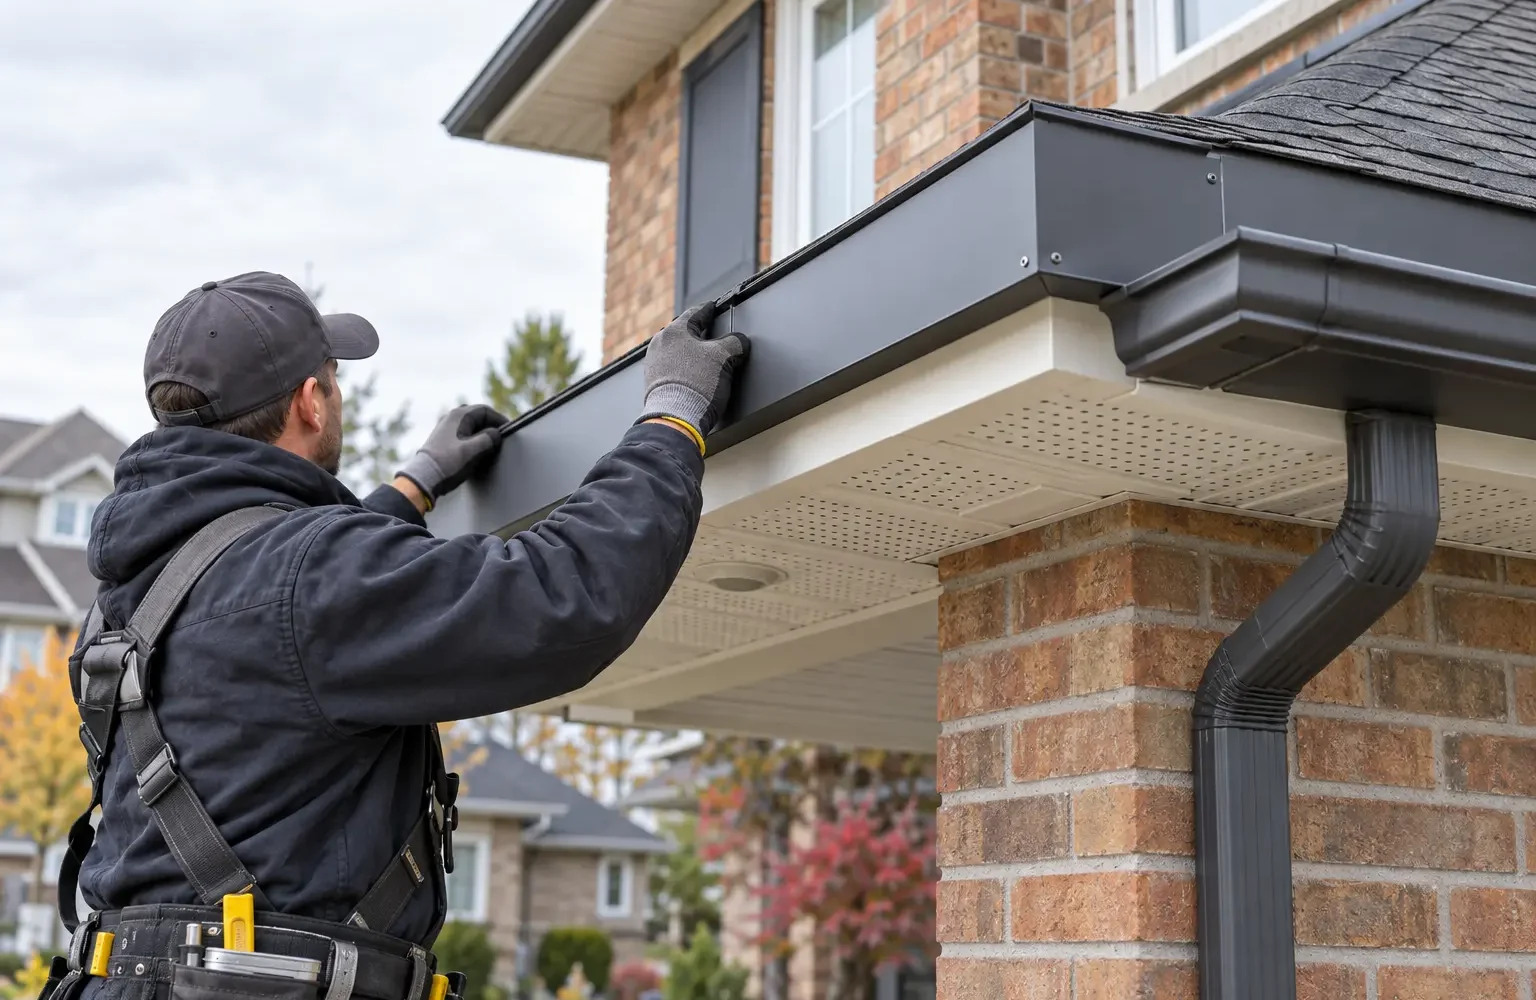
What aluminum capping is designed to do
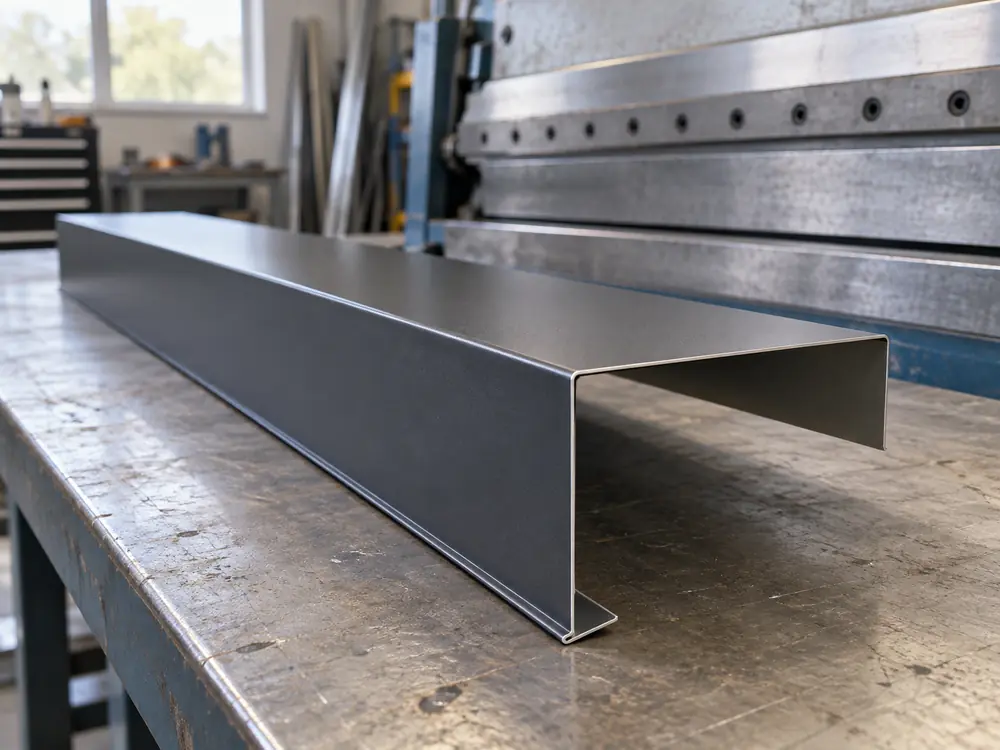
Coil aluminum is measured, cut and bent with a brake to follow fascia boards, window or door trim and selected exterior edges. The formed skin can reduce routine scraping and painting while creating a coordinated colour and a water-shedding finish over an appropriate base.
Capping is not a structural repair, waterproof membrane or substitute for flashing. It cannot restore fastening strength to soft wood, stop a roof leak originating above the edge or diagnose concealed moisture. Its value depends on what it covers and how its terminations manage water.
Inspect and prepare the substrate before wrapping
The surface below must be suitable for the intended attachment and detail.
Peeling paint alone may be a finish issue, but softness, splitting, displacement, staining or repeated fastener failure can indicate deterioration or continuing water exposure. The affected area should be opened or repaired as needed before new metal hides the evidence.
Preparation may include removing loose material, completing approved wood repair or replacement, resolving a roof-edge source and confirming that the assembly remains appropriately ventilated. The estimate should explain whether preparation is included, allowed for separately or assigned to another trade.
Plan bends, laps and water-shedding edges
A durable profile follows the actual geometry instead of relying on a flat strip fastened over irregular trim. Top and bottom returns, corners, joints and transitions should direct water outward and avoid trapping it behind the metal. Fasteners are placed and finished with movement and visibility in mind.
Long pieces still expand and contract as temperatures change. Joint orientation, overlap, fastening and sealant use should accommodate the selected detail rather than attempting to glue every edge rigidly. Complicated bay windows, gables, porch beams and mixed cladding can require separate profiles.
| Detail | What to define |
|---|---|
| Straight fascia | Face depth, returns, gutter relationship and long-run joints. |
| Outside and inside corners | Fold direction, overlap and visible seam placement. |
| Gable or porch transitions | How profiles meet roofing, siding, soffit and other trim. |
| Openings and trim | Drip edges, sill conditions, caulk boundaries and retained cladding. |
Coordinate capping with eavestrough fastening
When fascia capping and eavestrough replacement occur together, the fastening plane must be established before the gutter is installed. New capping should not be expected to carry the gutter load by itself; hangers and fasteners rely on the suitable assembly behind it.
Existing drip edges, roof membranes and apron details affect how water crosses the capped face into the trough. If roofing corrections are required, they should be sequenced before the final capping and gutter. The related soffit and fascia page explains when component replacement is the primary scope instead.
Select colour and finish in context
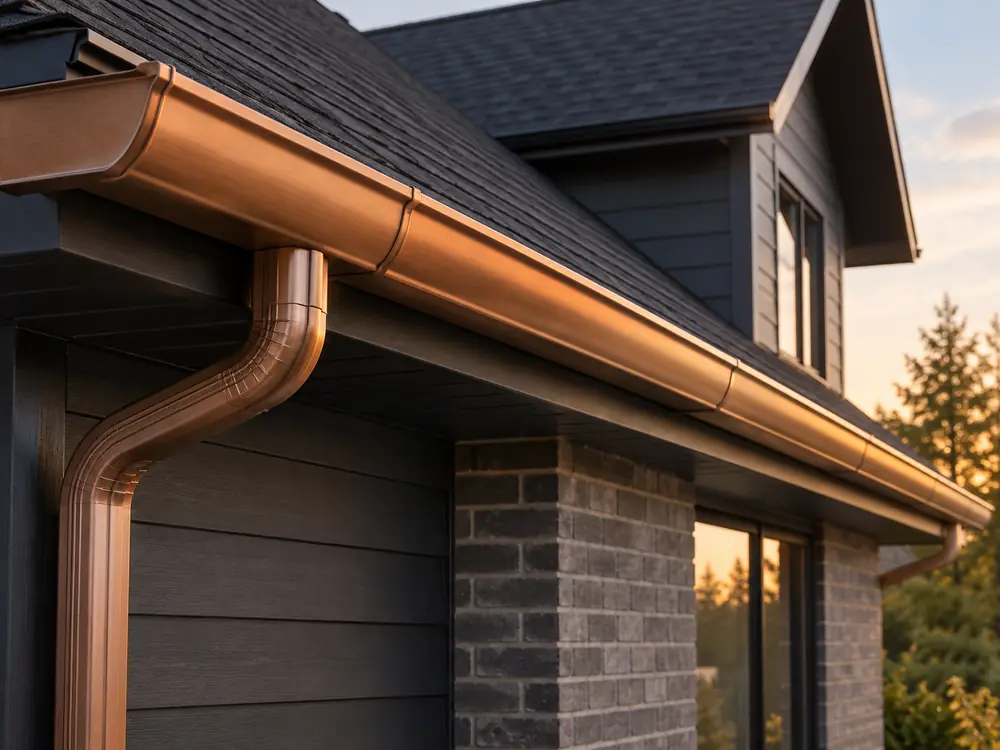
Capping can match eavestroughs and downspouts or contrast intentionally with brick, siding, roofing and windows. Because gloss and texture change in sun and shade, use physical samples at the property when the match is important. Weathered existing aluminum may not match new material exactly.
Dark colours can emphasize crisp folds and modern rooflines while also making oil-canning or uneven substrate more visible. Light finishes may blend with soffit and window trim. The substrate and forming quality remain more important than using colour to disguise an irregular base.
Define the boundary of a partial capping project
One damaged or unprotected elevation can sometimes be capped without wrapping the entire home. The transition should end at a logical corner or material break, and the estimate should identify what remains exposed. Partial work may show a colour or profile difference beside older weathered metal.
Where many small trim areas share the same deterioration or finish problem, grouping them can produce more consistent detailing and access. That does not mean unrelated soffit, gutter or siding work must be added. A good scope states every included face and return so the finished boundary is reviewable.
Maintenance and future access still matter
Aluminum does not need the painting cycle of exposed wood, but joints, sealant boundaries, fasteners and adjacent roofing or gutter components should still be observed. Impact, movement or work by another trade can open a detail. Staining or deformation deserves investigation rather than another layer over the top.
Future gutter removal, roof replacement or window work may need access to capped edges. Photographs and a clear record of what lies behind the metal are useful. Capping should make maintenance more predictable without making the underlying construction impossible to understand.
A defined process from observation to closeout
Identify the surfaces
List every fascia, trim face, return, corner and transition in the proposed scope.
Inspect and prepare
Confirm sound substrate and resolve deterioration or water sources before covering.
Design the profiles
Plan bends, laps, colour, fasteners and interfaces with roofing, soffit and gutters.
Form and install
Brake-form the approved metal and fit it to the prepared surfaces.
Review the boundaries
Check corners, terminations, water-shedding edges and the completed work area.
Useful details for an estimate
Ground-level information helps identify the right property, location, access plan and likely scope before the next conversation.
- Wide photos of each surface to be capped
- Close views of peeling, staining, softness or prior patches
- Approximate face depths and complicated returns
- Related roofing, soffit, gutter or opening work
- Preferred colour, finish and retained adjacent material
Safety: Do not climb a ladder to collect photos or measurements.
Questions about this service
Can aluminum capping be installed over rotten wood?
No. Unsuitable substrate should be repaired or replaced before it is covered or relied on for fastening.
Is capping the same as replacing fascia?
No. Fascia repair or replacement addresses the underlying component. Capping is the formed exterior finish installed over a suitable prepared surface.
Does aluminum capping need maintenance?
It reduces painting, but joints, fasteners, sealant boundaries and adjacent roof or gutter details still need periodic observation.
Can only the front of the house be capped?
Sometimes. The work should end at logical boundaries and account for visible colour, profile and transition differences beside retained material.
Should capping be installed before new eavestrough?
Usually the suitable substrate and selected capping detail are completed before final gutter installation, but roofing and drip-edge work may need to occur earlier.