
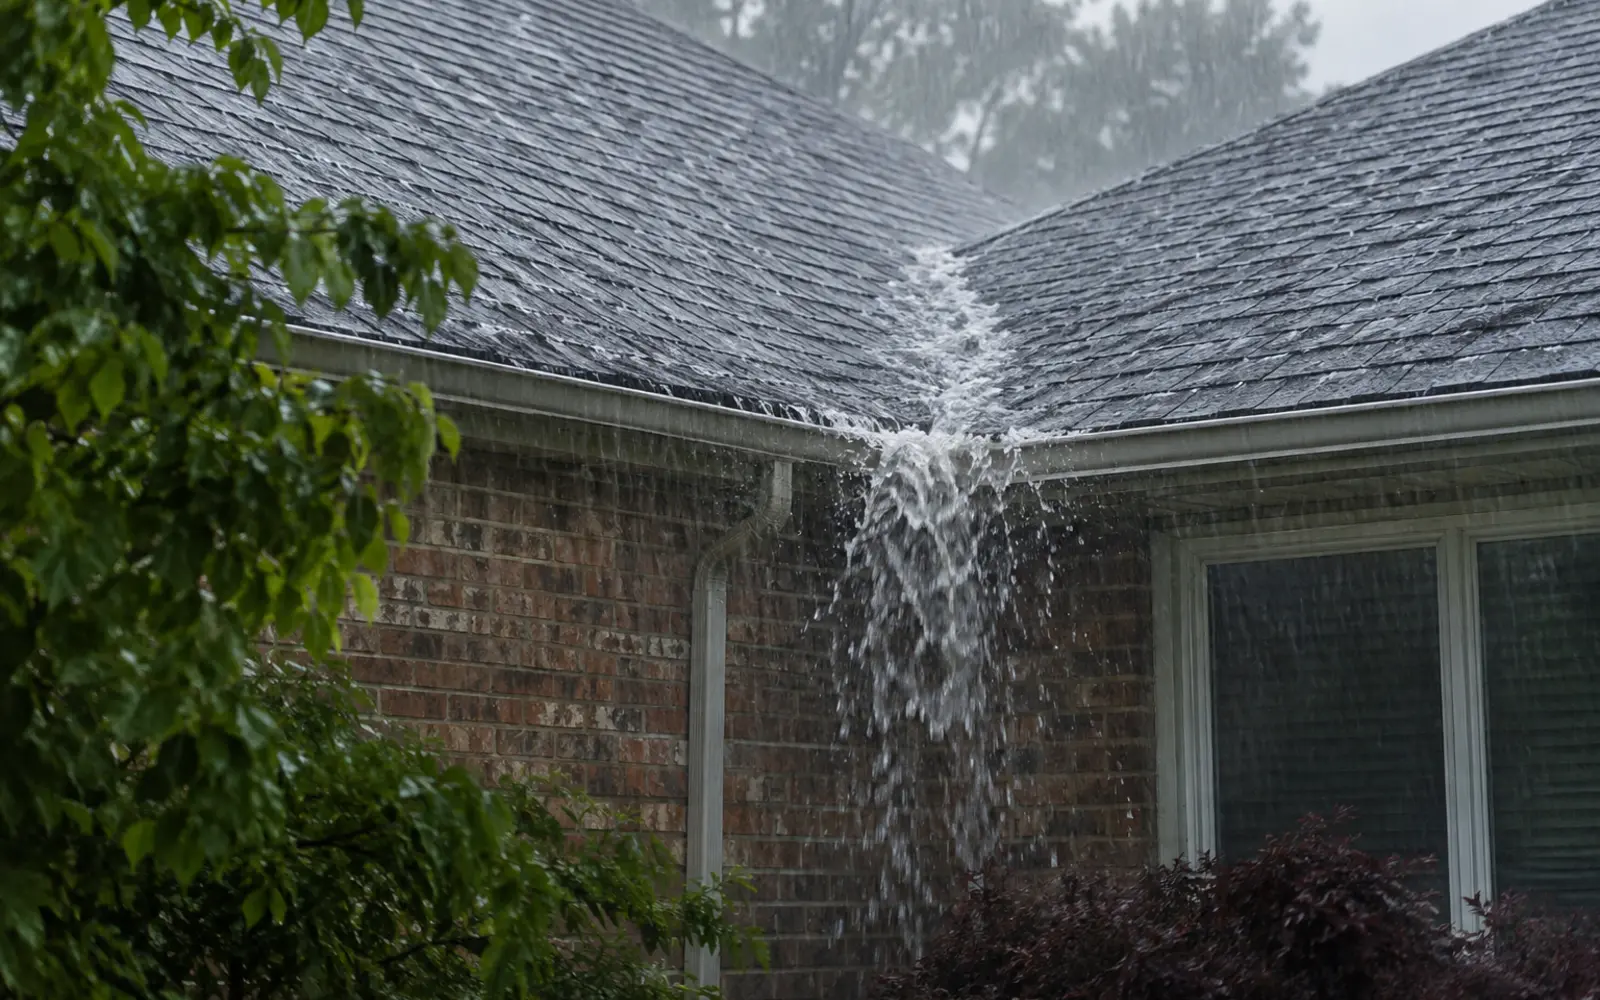
Use the overflow location as a clue
| Where water spills | Conditions to review |
|---|---|
| Directly above an outlet | Outlet opening, upper elbow or downspout restriction |
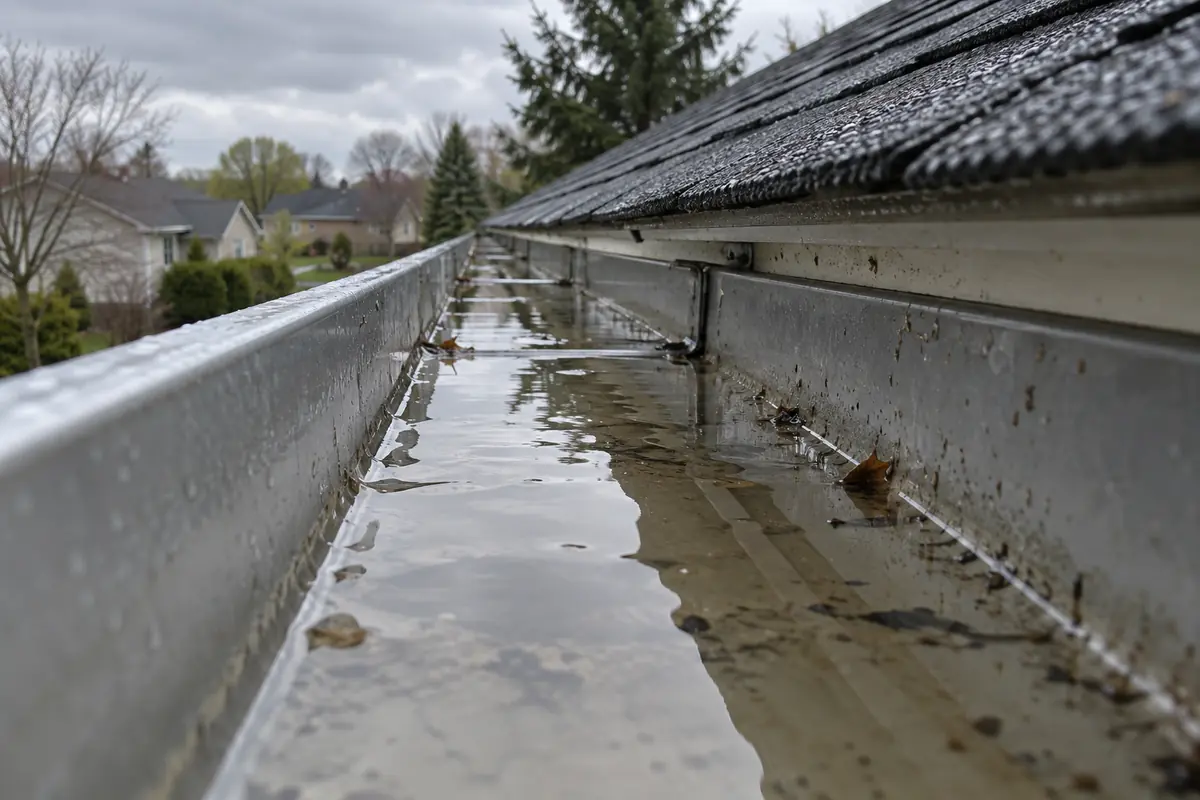
| At a low middle section | Debris, sag, deformation or poor slope |
| Below a roof valley | Concentrated flow, trough position, capacity and splash control |
| At an end away from the outlet | Run length, slope direction and outlet layout |
| Only during freeze-thaw | Ice, snow, insulation or roof-edge conditions |
Standing water points to movement or restriction
A small residual film is different from a persistent pool. Standing water can indicate an uneven run, a sag between supports, an outlet sitting high, accumulated debris or deformation. The fastening surface and fascia condition should be checked before simply changing the slope.
The ground route can turn collection into a drainage problem
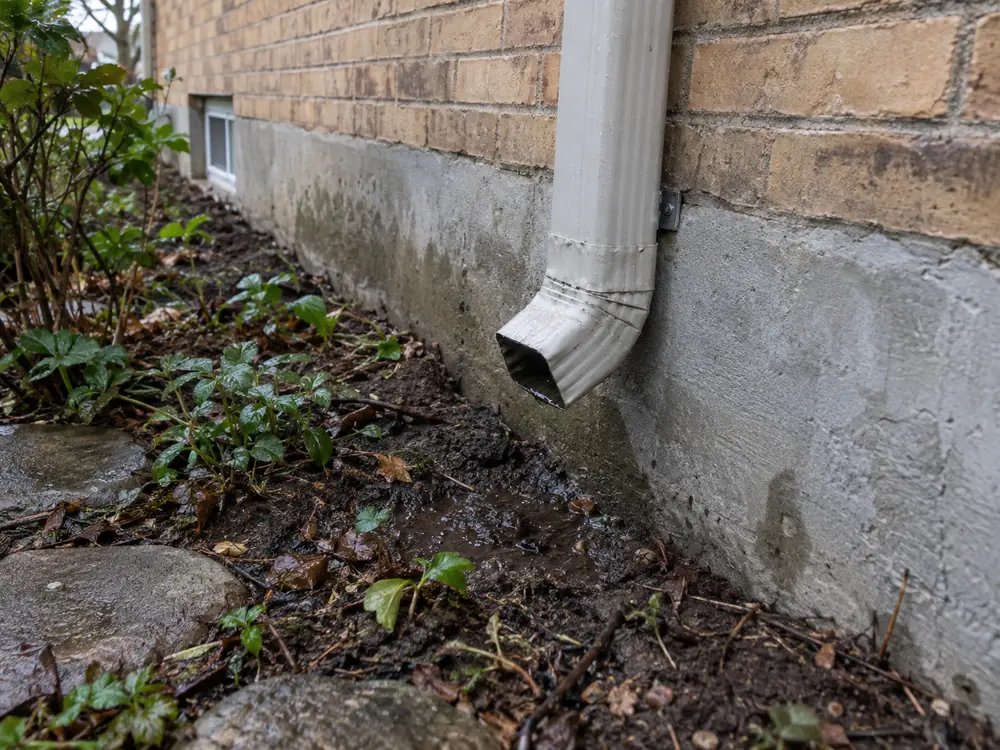
Water successfully leaving a downspout can still create a poor result if it stops beside the building.
Short terminations, disconnected extensions, reverse surface slope and blocked walkways can cause pooling or icing. Review the downspout and discharge route as part of the overflow diagnosis.
Clean first—or diagnose first?
If debris is plainly visible and access can be managed safely, clearing the restriction is a logical first step. If the system is clear, a corner leaks, the run sags, overflow is concentrated below a valley, or the symptom returns quickly, a broader review is more useful than repeated cleaning.
What to record during rain
- The precise spill location and whether it moves along the run.
- Whether overflow starts immediately or only in heavier rain.
- Flow from roof valleys or upper roof sections.
- Water entering and leaving the nearest outlet.
- Pooling at the lower discharge point.
- Photos or short video taken safely from the ground.
Select the corrective scope
The answer may be cleaning, localized repair, an outlet or downspout change, or system replacement. More than one condition can be present, so the smallest visible symptom should not automatically define the full scope.
The same wet area can be produced by different paths
Water on the ground below a corner might come through a failed joint, over the front of a filled trough, behind the gutter from a roof-edge detail or from a downspout connection above. The correction changes with the path, even though the homeowner sees water in the same place.
Observe when the water begins, whether the nearest downspout is flowing, and whether the spill follows a valley or low point. That evidence keeps the diagnosis from defaulting to a larger profile when cleaning, slope, outlet or repair work may be more relevant.
Test the complete chain of capacity
Effective capacity is limited by the smallest or slowest part of the route: trough, outlet, elbow, downspout or discharge. Improving one component may expose the next bottleneck. A useful scope explains which restriction is being corrected and how the rest of the visible path supports that choice.
A defined process from observation to closeout
Observe the pattern
Record where overflow starts, how quickly and under what rainfall.
Check simple restrictions
Review debris, outlets and accessible downspout flow.
Assess geometry and condition
Consider valleys, slope, low points, deformation and run length.
Match the correction to the cause
Choose cleaning, repair, outlet work, rerouting or replacement only after diagnosis.
Verify the full route
Follow water through the downspout to the final visible discharge point.
Useful details for an estimate
Ground-level information helps identify the right property, location, access plan and likely scope before the next conversation.
- Short video or safe rain observation
- Exact spill or leak location
- Nearest valley, outlet and downspout
- Recent cleaning or repair history
- Ground-level discharge behaviour
Safety: Do not climb a ladder to collect photos or measurements.
Questions about this service
Why does a clean eavestrough overflow?
Poor slope, a restricted outlet, concentrated valley flow, insufficient outlet or downspout capacity, deformation and ice are common non-debris causes.
Will a six-inch trough solve overflow?
Only when capacity is the limiting condition and the outlets, downspouts, slope and discharge route are also suitable.
Why does water spill behind the eavestrough?
Possible causes include roof-edge or flashing conditions, trough position, deformation and severe overflow. The source should be traced rather than assumed.
Can ice cause winter overflow?
Yes. Frozen debris, ice in the trough or downspout, and roof-edge ice conditions can obstruct the intended path. Avoid unsafe winter access.
Can more than one cause occur at the same time?
Yes. A valley can overload a low section while a restricted outlet or poor downspout route further reduces capacity.