
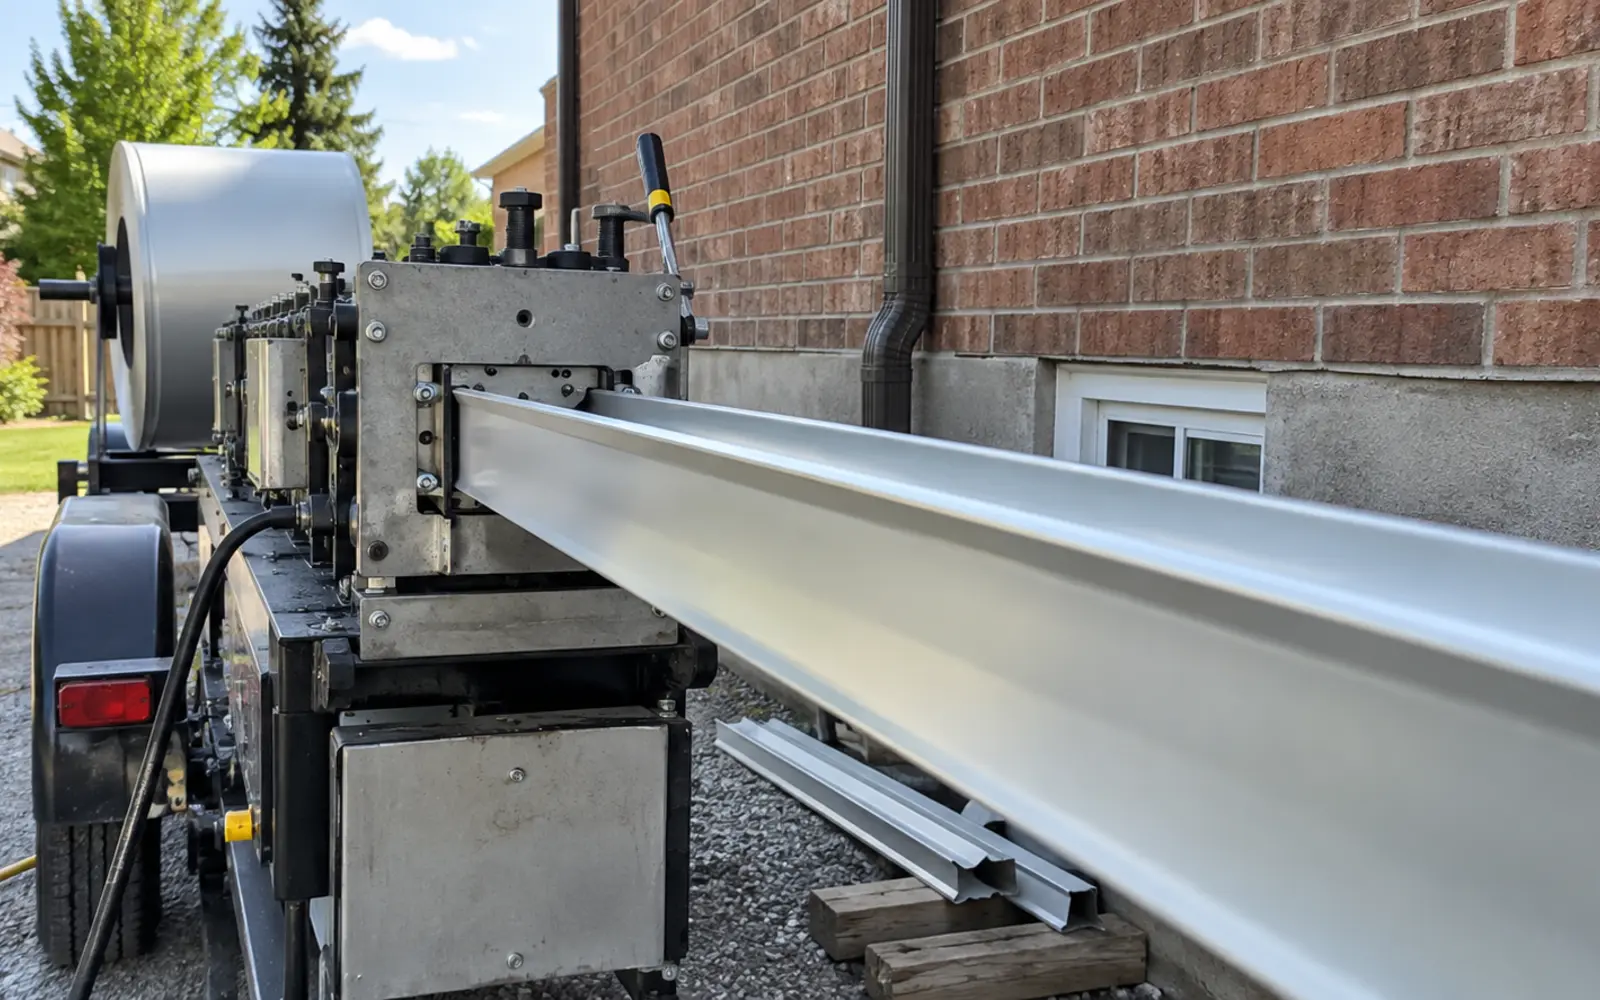
What a complete installation includes
The scope should define more than the length of aluminum along the roof edge.
- Seamless runs formed for the measured elevations.
- Corners, end caps and transitions required by the roofline.
- Hidden hangers or compatible fasteners at an appropriate spacing.
- Outlets, elbows, downspouts and accessible lower terminations.
- Coordination with fascia condition, soffit and exterior finishes.
- Safe removal and responsible handling of replaced material where included.
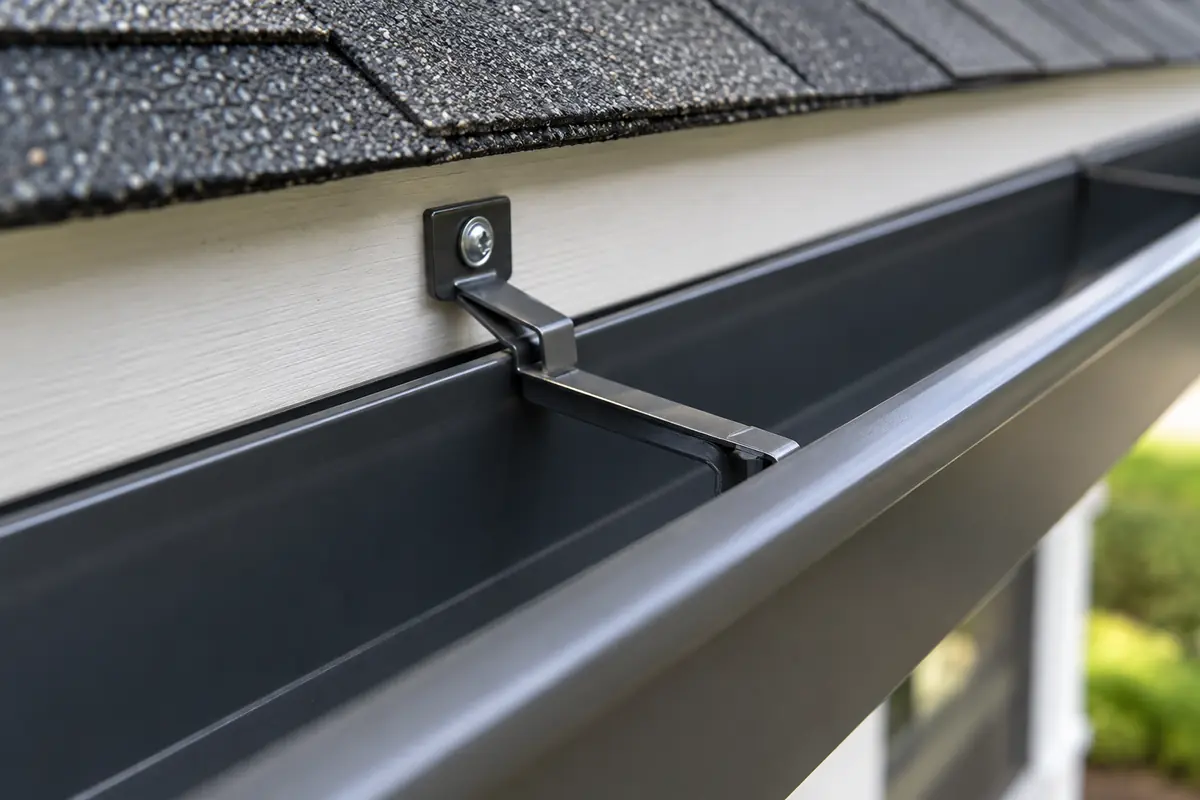
Five-inch or six-inch eavestrough?
Neither size is universally correct.
Roof area, pitch, valleys, long runs, outlet size, downspout quantity, fascia depth and appearance all influence the choice. A larger profile can provide more capacity, but a poorly located or restricted outlet can still limit the whole system. See the detailed five-inch versus six-inch comparison.
| Consideration | Why it matters |
|---|---|
| Roof area and pitch | Affects how much water reaches each run and how quickly. |
| Valley concentration | Can load a short section much more heavily than the average roof edge. |
| Outlet and downspout layout | Controls how efficiently water leaves the trough. |
| Fascia and visual scale | Affects fit, fastening and proportion at the roof edge. |
Slope, outlets and downspouts
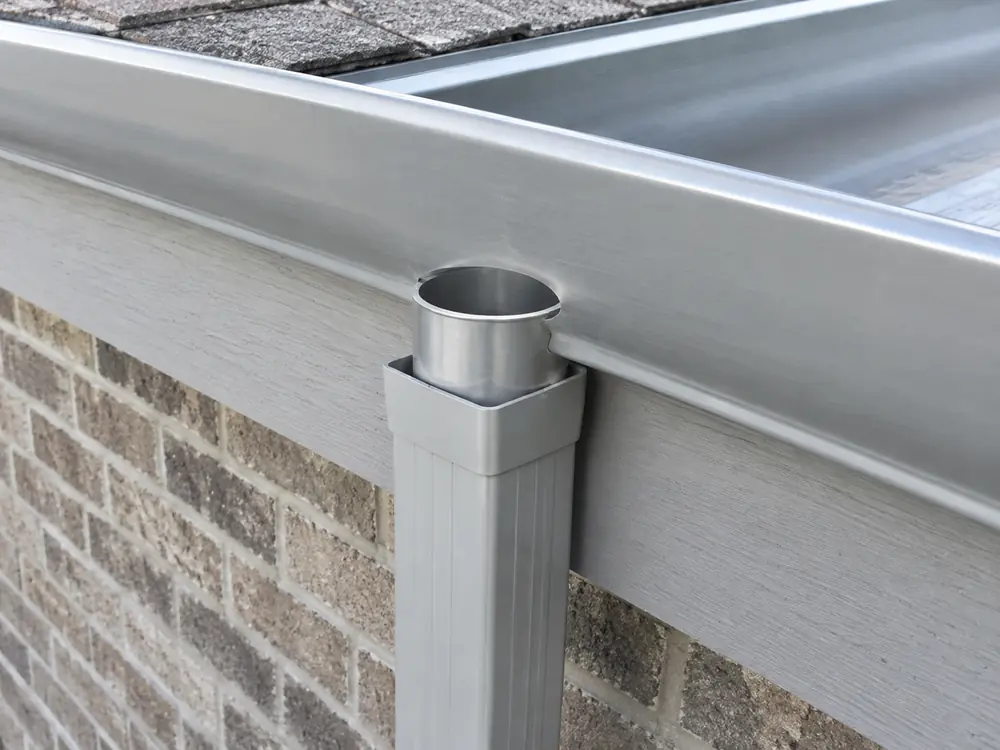
A trough needs a controlled path to a clear outlet.
Excessive visual slope is not the goal; consistent drainage is. Long elevations or complicated rooflines may benefit from more than one outlet. The outlet opening, upper elbows and vertical downspout should avoid unnecessary restrictions.
When replacement is more sensible than repeated repair
Broad deformation, extensive corrosion, repeated joint failures, incompatible additions, widespread loose fastening or a roof-edge renovation can make full replacement more coherent than a series of patches. When the problem is genuinely local, review the repair criteria before deciding.
Prepare for an installation estimate
- Photograph each roof elevation from the ground.
- Show valleys, additions and inside corners.
- Show the complete downspout route and its termination.
- Note colour preferences and any planned soffit, fascia, roofing or painting work.
- Identify access limits, gates, decks, landscaping and overhead obstructions.
After installation
Observe the system during safe rainfall conditions from the ground. Look for water entering the trough, leaving through outlets and discharging without pooling at the wall. Periodic cleaning or inspection remains necessary even with new components or guards.
Plan each elevation instead of choosing one size for the whole home
A front porch, attached garage, rear addition and main roof can send very different amounts of water to their eavestroughs. The estimate should identify which roof planes feed each run, where valleys concentrate flow, how far water must travel to an outlet and whether an extra outlet has a workable downspout destination.
Townhouse end units, narrow side yards and upper roofs that discharge onto lower roofs add constraints that a linear-foot price does not explain. Treating elevations separately makes the final system easier to review without forcing unnecessary differences in visible colour or profile.
Define inclusions before the old system comes down
A complete proposal should identify included runs, profile, colour, corners, outlets, downspouts, extensions, removal and disposal. It should also state whether gutter guards, fascia repair, capping, roof-edge flashing or buried drainage are excluded or assigned to another trade. Clear inclusions protect both the installation sequence and the comparison between estimates.
A defined process from observation to closeout
Measure the roofline
Record each run, corner, valley, fascia condition and possible outlet location.
Design the water path
Select profile, slope, outlets, downspouts and visible discharge routes together.
Confirm materials
Choose compatible aluminum, colours and included removal or roof-edge work.
Complete installation
Form, fasten and connect the approved system to sound supporting material.
Review performance points
Check alignment, outlets, downspouts, extensions and the completed work area.
Useful details for an estimate
Ground-level information helps identify the right property, location, access plan and likely scope before the next conversation.
- Home type and number of storeys
- Full elevations, valleys and additions
- Existing profile, colour and known problem areas
- Downspout and surface-discharge options
- Access limits and related roof-edge work
Safety: Do not climb a ladder to collect photos or measurements.
Questions about this service
Is seamless eavestrough completely joint-free?
The straight runs are formed without intermediate seams, but corners, end caps and outlet connections still create joints that require proper assembly.
Should downspouts be replaced with the troughs?
They should be reviewed together. Existing downspouts may be reusable when their size, condition, locations and routing suit the new layout.
Can new eavestrough be installed over damaged fascia?
The fastening surface should be assessed first. Covering deterioration does not restore the support needed for the system.
Does a larger eavestrough stop every overflow?
No. Debris, slope, valley concentration, outlet restrictions, downspout capacity and discharge conditions can still cause overflow.
What determines an installation estimate?
Run length, height, access, corners, profile, outlets, downspouts, removal, fascia condition and related finish work all affect the scope.