
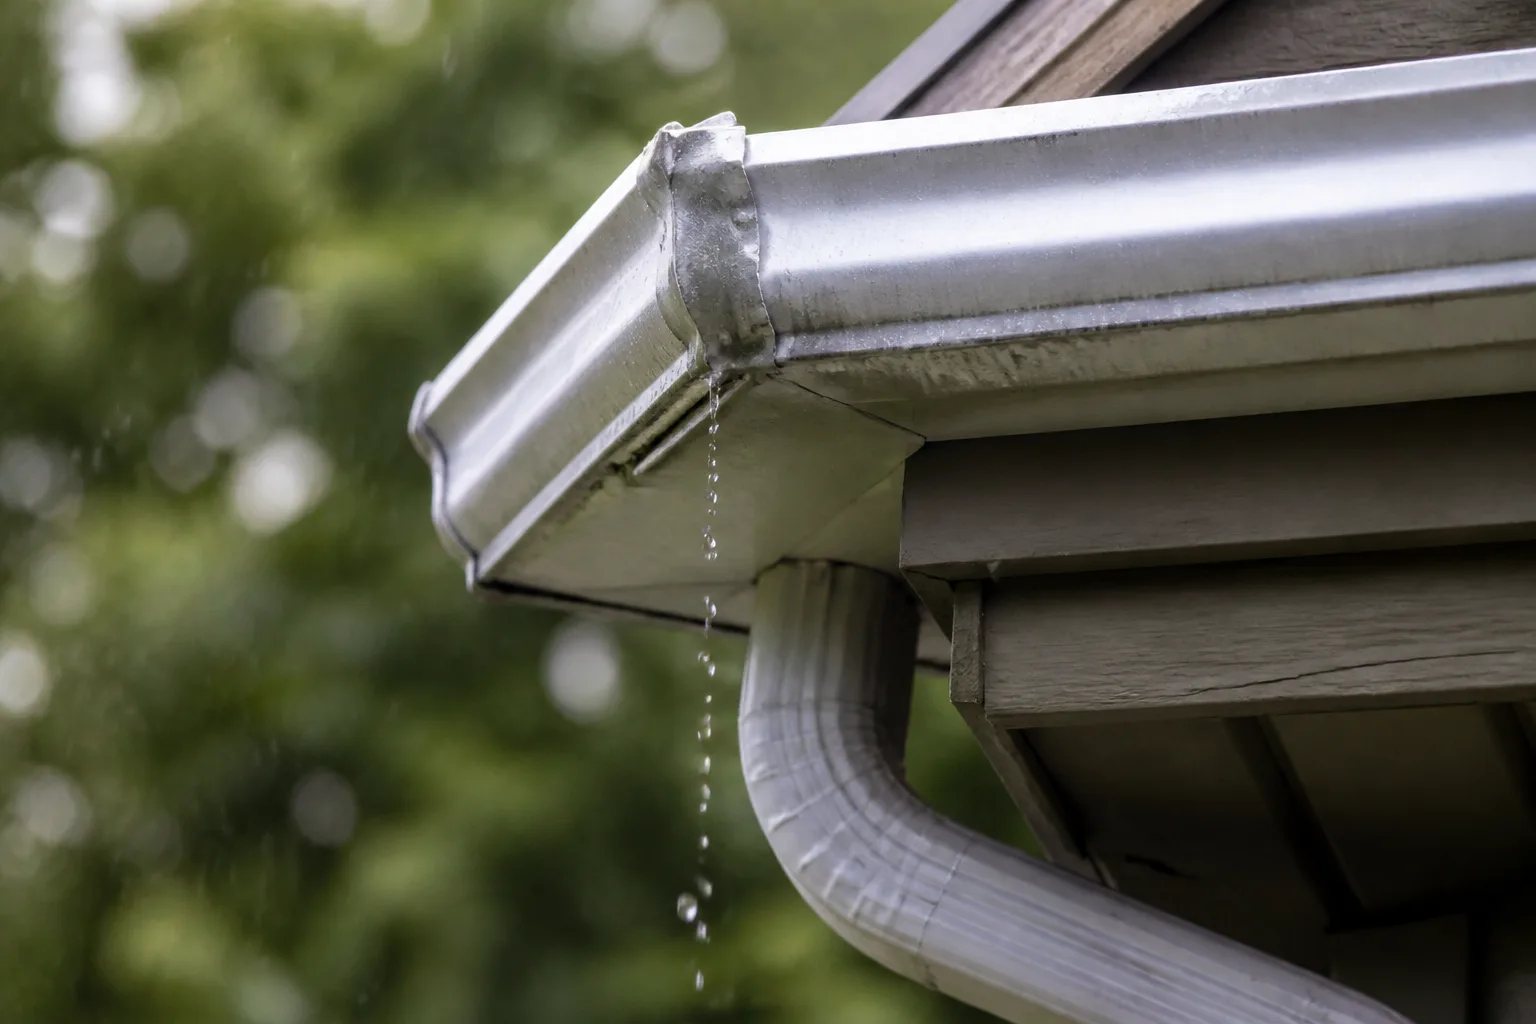
Eavestrough leak repair in Mississauga starts with identifying where water leaves the intended path, not simply where staining appears. A drip below a corner may point to a leaking seam, while water running behind the trough, spilling over its front edge, or appearing near an outlet can have different causes. Not every leak requires replacement, but a durable repair needs to address the connected conditions: the trough, its slope and attachment, the fascia behind it, the outlet, and the downspout route.
At Mississauga Eavestroughs & Gutters, we repair defined problems such as leaking corners, loose hangers, damaged outlets, separated downspout components, and short damaged sections where the surrounding system remains serviceable. The most useful first step is to observe what happens during rain from a safe location and document the full affected elevation.
First, identify how the water is escaping
Water at the roofline can look similar from the ground even when the fault is different. The timing, direction, and exact point where water appears are valuable clues.
| What you see | What it can indicate | What else needs review |
|---|---|---|
| Dripping from the bottom of a corner after the trough fills | A corner seam or end-cap issue | Joint condition, movement, and the surrounding metal |
| Water running behind the eavestrough | Water bypassing the intended collection path | Trough position, roof-edge conditions, attachment, and fascia |
| Water jumping over the front edge | Overflow or concentrated flow | Debris, slope, outlet restriction, valley flow, capacity, and downspout flow |
| A dip between fasteners or a section pulling away | Loose support or deformation | Hanger layout, fascia condition, slope, and the cause of the movement |
| Water near a downspout connection | A leaking or separated outlet, elbow, or downspout component | The full route from outlet to ground-level discharge |
Staining shows where water has travelled, but not necessarily where it began. For example, water at the fascia can originate at a joint, from an overloaded trough below a roof valley, or from a condition above the eavestrough. A wide view provides context that a close-up alone cannot.
Why corner sealant is not always the answer
Corners, end caps, and outlets are natural service points because they have seams, sealants, and openings. A focused repair can be appropriate when the adjoining material is sound and the joint can be properly prepared. However, applying material over a wet, contaminated, moving, or distorted joint does not resolve the reason it failed.
A repair review should consider whether the metal around the leak is stable, whether the connection fits properly, and whether the trough is moving because its support or slope is compromised. If a corner has failed repeatedly, the question is larger than which sealant to use. Movement, poor preparation, deformation, or a drainage condition loading that area may be contributing to the recurrence.
We assess these connected conditions as part of our eavestrough repair service so a visible leak is not treated as an isolated symptom when it is part of a broader roofline issue.
What causes sagging eavestroughs?
Sagging is a condition, not a single diagnosis. A trough may dip because hangers are loose or too widely spaced, because ice or an impact has deformed the metal, because retained debris has added weight, or because the slope was never set correctly. The material behind the fasteners matters just as much as the hardware itself.
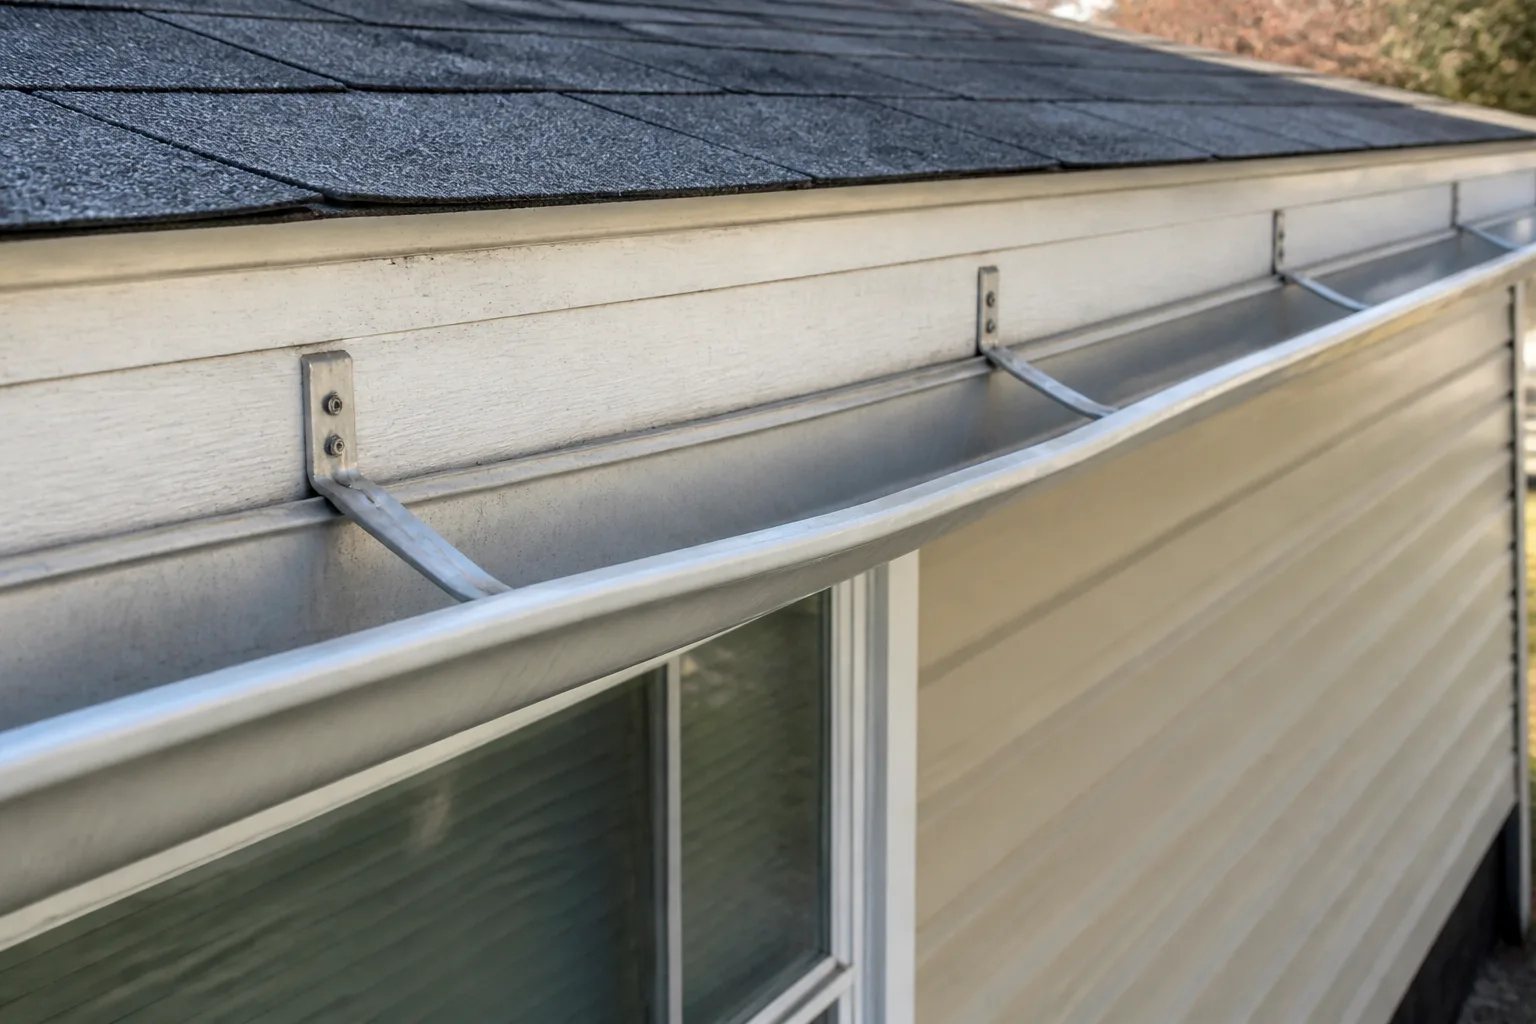
Fascia is the roof-edge face that commonly provides the fastening plane for an eavestrough. If it is soft, split, displaced, or otherwise unsuitable for fastening, adding new hangers alone may not create reliable support. Covering deterioration does not restore the surface needed to hold a trough in alignment.
That distinction helps avoid a common mistake: treating a sag as a hardware-only problem. When fascia work is relevant, our soffit and fascia installation information explains the separate roles of these roofline components.
When an eavestrough leak repair is a sensible option
A local repair is often worth considering when the problem is clearly defined and the connected material remains in good working condition. Typical examples include one leaking corner or end cap, a limited number of loose hangers on sound fascia, one damaged outlet or elbow, or a short damaged section that can be integrated with compatible material.
Replacement deserves a broader conversation when several joints fail repeatedly, long runs pull away from the fascia, the metal is broadly distorted or corroded, or overflow continues because the layout, slope, outlets, or capacity do not suit the roof flow. A watertight patch will not correct a long run that drains poorly or a distant outlet that cannot receive water efficiently.
Age alone does not decide the issue. The extent of failure, profile compatibility, metal condition, fastening surface, drainage layout, and upcoming exterior work offer more useful evidence. If roofing, siding, soffit, fascia, or painting will soon disturb the roof edge, coordinating the scopes can prevent repairing a section that will need to be removed shortly afterward.
For a more detailed comparison, read our repair or replace eavestroughs decision guide.
Overflow after cleaning points to a different problem
Cleaning and repair are connected but separate needs. Leaves, needles, seed pods, roof granules, and fine debris can collect in the trough, around outlets, and at upper elbows. Clearing a restriction can restore flow when debris is the cause.
If overflow continues after the accessible path is clear, the cause may involve slope, a restricted outlet or downspout, valley concentration, deformation, or insufficient drainage capacity. Likewise, a clean trough can still leak at a seam or sag because of weak support. Rather than assuming the visible leaves explain every symptom, consider both the water entry point and the route it must take to leave the system.
Our eavestrough cleaning and preventive maintenance service addresses ongoing debris removal and helps separate visible maintenance needs from conditions that require repair review.
Document the water path safely before requesting a repair review
Useful photos show both the symptom and the surrounding system. Take them from the ground in safe conditions. A short video during rainfall can be particularly helpful when it captures when the water begins to escape and which direction it moves.
Before requesting a repair review
Capture the details that reveal the cause
A few safe observations can make it easier to identify the affected component and connected drainage conditions.
- Take one wide ground-level photo of the entire affected elevation.
- Photograph the leak, sag, separation, outlet, or damaged downspout component up close from the ground.
- During safe rainfall, note whether water drips through a joint, runs behind the trough, overshoots the front edge, or appears near an outlet.
- Show the nearest roof valley, outlet, downspout, and visible lower discharge route.
- Record previous repairs, cleaning history, and when the problem occurs.
- Note access limits such as decks, gates, landscaping, narrow passages, or overhead obstructions.
Include any previous repairs, the last known cleaning, and whether the issue follows heavy rain, light rain, snowmelt, or a particular roof area. This context helps distinguish a localized joint problem from a drainage or support issue.
Safety first
Do not climb a ladder to investigate a leak
Ground-level photos and safe observations during rainfall are enough to document the visible water path. Do not climb a ladder for photos, measurements, or a closer look, especially during wet or windy conditions.
What a focused repair scope should make clear
A clear repair scope identifies the specific joint, run, outlet, or downspout component being addressed. It should also explain why the adjoining material can remain in place, or note the separate condition that falls outside the repair. For example, a repair can correct a leaking corner without serving as a promise that every older joint on the elevation will remain trouble-free.
For overflow concerns, the connected water path deserves equal attention. Water must enter the trough, travel to an outlet, pass through elbows and the downspout, and discharge at ground level without creating a new issue near the building. We provide downspout installation and water-routing services for visible downspout and above-ground drainage concerns. Buried drainage diagnosis and repair are separate scopes.
The goal is not to turn every small defect into a replacement project. It is to define the smallest coherent correction that addresses the actual failure while making any broader limitations visible. When the water path, support condition, and repair boundary are clear, you can make a more informed decision about the next step.
Helpful answers
Frequently Asked Questions
Get a clear repair scope for the visible problem
Share safe ground-level photos and details about the leak, sag, separation, or overflow so we can help identify the right area to review.